- Expand Your Marketing and Outreach

- Tips for Your Team
How to work with content drafts in Craft CMS
This article was created with Craft 4.2.8. Craft evolves rapidly. While we will work to keep this article updated, please let us know if you believe it outdated.
Craft CMS is a content management system that offers a fantastic publisher experience. As part of their “out of the box” goodness, you can create, manage, and share drafts of content. This simple publishing workflow has seen a lot of improvements over the years. The current iteration is the best yet.
This article is guide to working with Craft's drafts. If interested to learn more about Craft CMS, check out our article about why it is a great platform for nonprofit websites.
Creating a Draft
When you are editing an existing entry you can click the “Create a draft” button. This will create a new draft of your entry and make it active in your editor.
Next to the title of your entry you should see “Draft 1”. This indicates the version of the entry you are now working with.
If you see your draft title is active, you are ready to work with it.

Managing a Draft
Once you have created a draft, you can begin making changes. There are a few important features to know about when working with your draft.
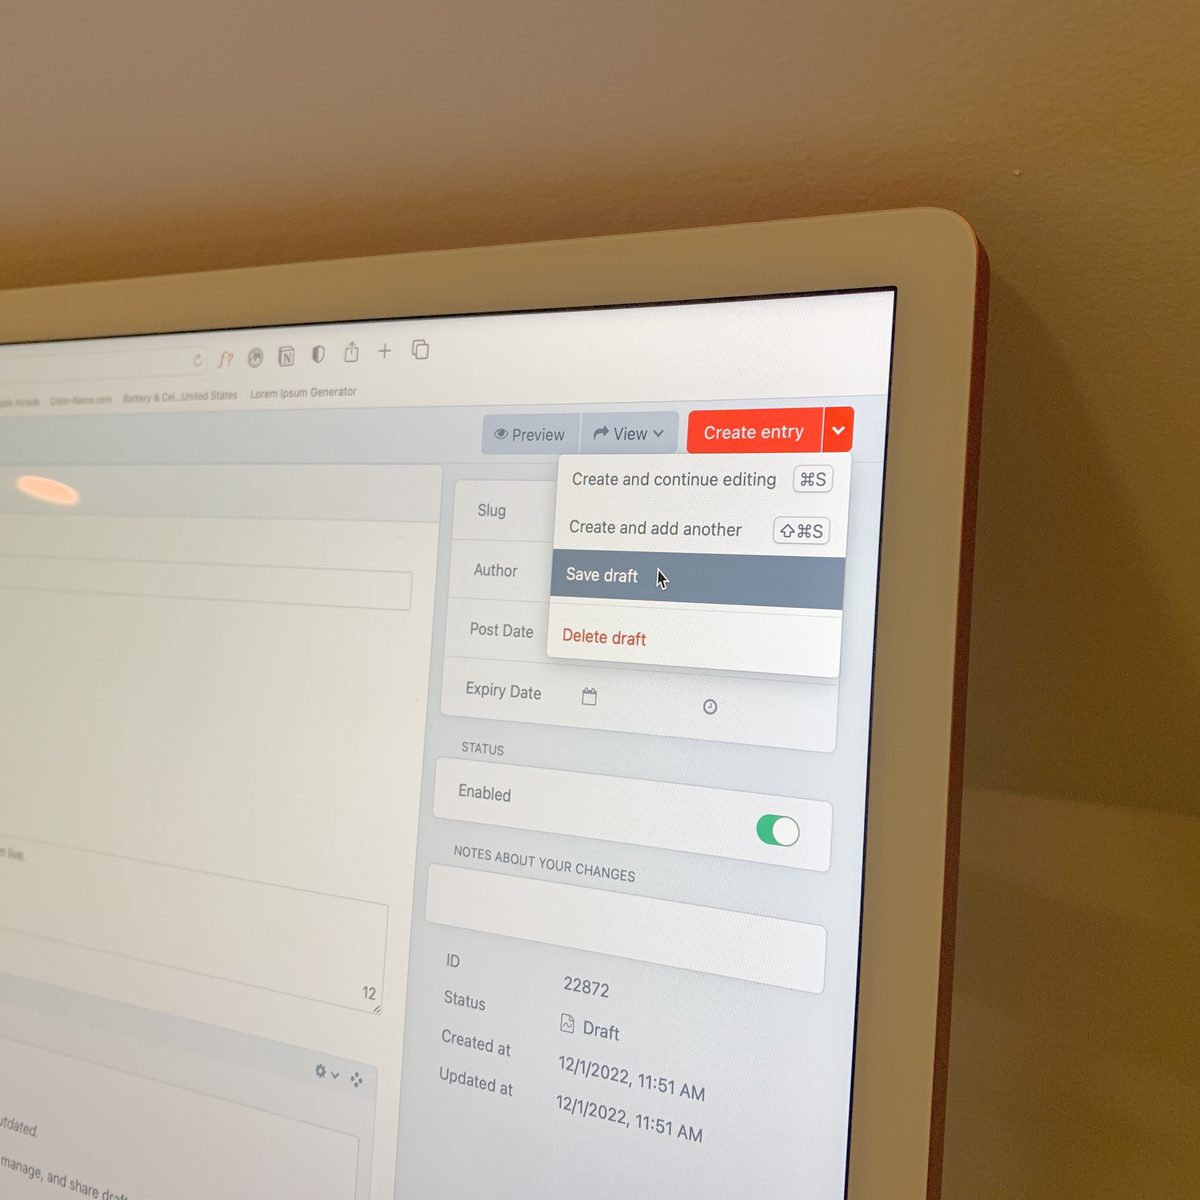
- To save your draft, click the “Save Draft” button highlighted in the image below.
- You can rename your draft by clicking the pencil icon highlighted in the image below. It can be helpful to label the draft to remember what changes are being worked on.
- When working with different drafts or when you return to work on a draft another day you need to make sure to select it. You want to make sure you are editing the right version. Next to the title of the entry, there is a dropdown of different versions of it. You can toggle your editing interface to select a draft, the current (published and live on the site) entry, or even view a revision. This is helpful to compare versions and/or manage multiple drafts.

Sharing a Draft
You can generate a URL to share your draft with a colleague. The URL will show your draft as if it were published on the live site. The good news is it only looks like it was published. The current version is still the one the general public sees.
Here’s what you need to do to get this special URL.
- Make sure you are viewing your draft. You should see your draft name in the dropdown immediately following the title of the entry. If you don’t see it, select your draft from the dropdown to make it active in your editing view.
- Next, click the “View” dropdown towards the upper right of your screen and select “Detail Page”. This will open a new tab or window in your browser showing the entry page for your draft.
- Copy the URL from your browser and share it. Note, these urls are good for only one hour. A developer can adjust this time for you through a Craft configuration setting if needed.
We love this feature!

Publishing a Draft
When you are ready to publish your draft and make it live there are two simple steps to follow.
- Make sure you are viewing your draft. Its name should be in the dropdown next to the entry title. Select it from the dropdown if not.
- Then, click the “Apply draft” button.

Use when needed or create a structured workflow that works for your organization
It’s refreshing to have a simple, yet meaningful way to revise and collaborate around website content. The ability to share a draft and see it as it will look on the site once applied is powerful. When viewing, you can look on a desktop or a phone to see exactly how the changes will be seen by others. This offers the right context to get great feedback to streamline your content approval process. We also like that this is out of the box functionality, no plugins or add-ons required.
It is not a robust publishing workflow with draft assignments, approvals, and notifications for sure. For smaller websites and/or lean content teams, it can be just the right amount of functionality though. It offers ease of use to get content changes shared, approved, and live when needed.
More Articles
- Expand Your Marketing and Outreach
A thoughtful approach to nonprofit event branding
- Expand Your Marketing and Outreach
Expert-backed tips to boost donations through your website
Ideas for small teams doing big things in the social sector
Subscribe to get ideas that blend design, strategy, and technology to help you build your brand, improve your website, and strengthen your communications and fundraising.
SubscribeBrought to you by MOD-Lab
At MOD-Lab, we're the thoughtful design partner for small teams like yours doing big things in the social sector. We create memorable branding, design materials, and websites that showcase the quality of your work and reflect your true impact.


